
As of last week I decided I would show a few "How to" segments in Scrapbooking. I know there are many out there who want to begin but wouldn't know how! Or on what to get! Cause lets face it...this hobby is a bit expensive if you go a little overboard! :)
I have collected my stash of things in a period of oh...8-10 years so I have a lot if you look on it from a beginners perspective. But I always say that just buy what you need not overdo it!
So if you are a person who would love to start making your own cards...then look at this tutorial!

These items will become this:

a finished card that I can send to any occasion! So lets begin...
First raid your cardstock stash or buy a few cardstock in colors you like.
Then you go back to your pattern paper stash and raid that or you buy new ones...either way.
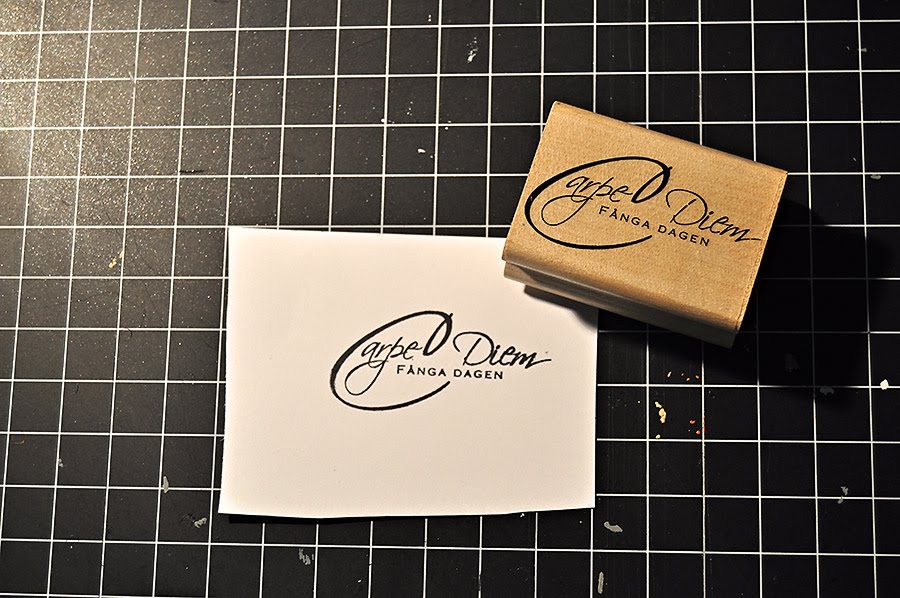
Find or buy a multifunctional stamp, get some embellishments, ink and glue.
The papers I have I find in my leftover bin. See Whenever I scrapbook a layout I almost always get a few scraps of paper left and keep them when I create a card. (since I don't need that much and it saves me from going to my 12x12" paper stash)
I usually cut my cards to they are 4"x6" (10x15cm), but in this case it is 4x3"...something I found in my scrapsbin. Whatever size works for you!! :)

Cut the paper in the size you want. Using the cardstock in the bottom for a base and the pattern paper as a embellishment piece. I cut the pattern paper a bit smaller than the green cardstock so I get a border around it. As you see above I had already stamped my image on a white plain cardstock with a black ink.
Just like this!! :)

The corners are preglued and all I had to do is remove the tape and place it on the corners on my pattern paper!

This is how it looks when done. This can also be a cool effect if you don't want to use the patternpaper and just have the corner embellishments and a simple hello stamp! (but that is for another time)

To create a burned edge around my stamp image and also on the patternpaper piece I have a chalkpad that I dab around the edges. This also makes the image appear like 3D...to make it pop up from the card. (not easy to shoot with just one hand so bare with me here...)

When it comes to glue, I have a taperoller....it is my best investment ever!!

I roll the tape just on the corners if it is a small piece of paper and if it is bigger I roll it in the middle aswell.
And I forgot to shoot a photo of the flower assemble....not easy to remember it all when I do create!
Sorry!!!
But I just applied some glue in the back and placed it in the upper corner as you see above!
A tip is to lay it all out with out gluing it together and see if the card will look alright to your standards!
I never glue anything before I am satisfied with the card.
# if you decide to try this out and don't have any materials at home, then this is what you need and will be able to use for a long time!! :
1. buy some neutral cardstock, like whites, beige and black.
2. buy maybe a few colored cardstocks, I usually buy them after seasons of the year.
3. buy 1-3 different patternpaper that you like and will match a bit with your colored cardstocks.
4. buy a neutral and multifunctional Stamp that you can use to any occasion
5. buy a black inkpad
6. some stores sell paperflowers one by one some in bulk, so buy a few to begin with. (you can always buy more later on)
7. a black pen is always a must!
8. Last but not least....I would suggest a papertrimmer!! (cause I can't cut straight at all) :)
but a good pair of scissors will be good aswell!
Now either go raid your stash or buy a few products and get Cropping!!! :))
Enjoy!


